Building the Workbench from Source Code
The AI DBA Workbench collects metrics from PostgreSQL servers, evaluates alert rules, and displays results in a web interface. You can find the source code and configuration examples in the GitHub repository.
Before you deploy the Workbench, confirm the following prerequisites are in place:
- PostgreSQL 14 or later is installed for the Workbench datastore.
- The database credentials for the datastore database are available.
- Network access exists between each monitored PostgreSQL server and the system hosting the Workbench.
- A Linux x86_64 system is available to host the server-side components.
Building from Source Code
The project uses Makefiles for building and testing; after cloning the repository, you can build all components from the top-level directory with the command:
make all
You can optionally build components individually. In the following example,
the make build command builds just the collector component:
cd collector && make build
After completing the installation, create configuration files and configure each component for your environment. You can copy sample configuration files from the GitHub repository:
-
The Collector Configuration file describes datastore and connection pool settings. The
collector.yamlfile must include the location of: -
The Server Configuration file describes authentication, TLS, and LLM settings. The
server.yamlfile must include:- The secret_file
- The password associated with the user that owns the
/opt/ai-workbench/datadirectory (under thedatabase:section).
-
The Alerter Configuration file describes threshold and anomaly detection settings. The
alerter.yamlfile must include: -
The Client Configuration file describes proxy and build settings.
-
The systemd configuration page provides details about setting up systemd service management for users that did not use pgEdge packages when installing.
Running the Workbench
Before running the Workbench, you'll need to add a user to the auth.db file.
The auth.db file is the server's own database for user credentials; the
file stores authentication details only for the AI Workbench. Use the
following command, providing the login user name in place of user_name:
/opt/ai-workbench/ai-dba-server -add-user -username user_name
When prompted, provide additional information for the login user. Note that complexity rules are applied to the password - the password must contain a capital letter, a special character, and a number to be accepted for login.
When the password and other information is accepted, the onscreen feedback confirms that the user is created successfully:
/opt/ai-workbench/ai-dba-server -add-user -username alice
Enter password:
Confirm password:
Enter full name (optional): Alice Baker
Enter email address (optional): alice@pgedge.com
Enter notes for this user (optional):

======================================================================
User created successfully!
======================================================================

Username:  alice
Full Name: Alice
Email:    alice@pgedge.com
Status:   Enabled
======================================================================
Next, use the cp command to copy the client files to the installation
directory:
sudo mkdir -p /opt/ai-workbench/client
sudo cp -r assets index.html favicon.ico /opt/ai-workbench/client/
The server does not include a static file service; install and configure nginx to serve the client files and proxy API requests to the server before running the Workbench. Use your choice of package manager to install nginx:
sudo apt install nginx
Then, create and open the nginx configuration file; for our example, we're using vi:
sudo vi /etc/nginx/sites-available/ai-dba-workbench
Update the nginx configuration file to set the proxy rules and file root for your installation:
server {
    listen 80;
    server_name your_server_hostname_or_ip;

    root /opt/ai-workbench/client;
    index index.html;

    location /api/ {
        proxy_pass http://localhost:8080;
        proxy_set_header Host $host;
        proxy_set_header X-Real-IP $remote_addr;
        proxy_set_header X-Forwarded-For $proxy_add_x_forwarded_for;
        proxy_set_header X-Forwarded-Proto $scheme;
    }

    location /mcp/ {
        proxy_pass http://localhost:8080;
        proxy_set_header Host $host;
        proxy_set_header X-Real-IP $remote_addr;
        proxy_set_header X-Forwarded-For $proxy_add_x_forwarded_for;
        proxy_set_header X-Forwarded-Proto $scheme;
        proxy_buffering off;
        proxy_cache off;
        proxy_read_timeout 300s;
    }

    location = /health {
        proxy_pass http://localhost:8080;
    }

    location / {
        try_files $uri $uri/ /index.html;
    }
}
Then, use the ln, nginx, and systemctl commands to enable the
configuration and restart nginx:
sudo ln -s /etc/nginx/sites-available/ai-dba-workbench /etc/nginx/sites-enabled/ai-dba-workbench
sudo rm /etc/nginx/sites-enabled/default
sudo nginx -t
sudo systemctl restart nginx
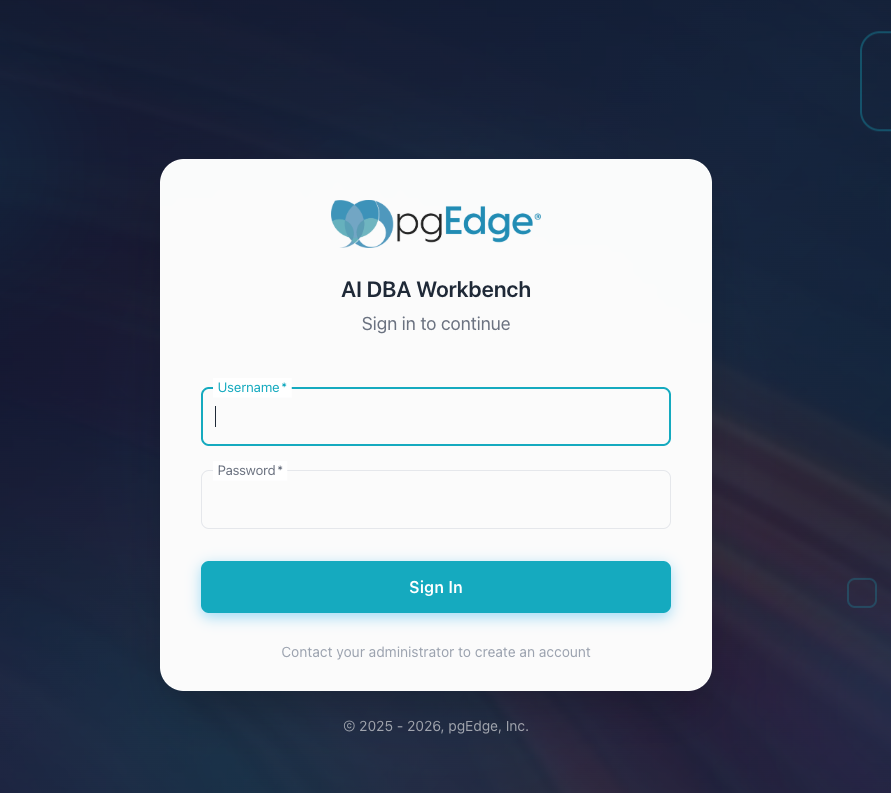
Open a browser and navigate to http://<server-ip>; provide authentication
details when the Workbench opens.
After logging in, select the + next to the DATABASE SERVERS heading
in the left navigation panel. The Workbench adds a new server definition
entry.
Connecting to a Local PostgreSQL Server
By default, the server blocks connections to internal and private IP addresses. To monitor a PostgreSQL instance on the same host or local network, enable internal network connections in the server configuration file.
In the following example, the vi command opens the server
configuration file for editing:
sudo vi /etc/pgedge/ai-dba-server.yaml
In the following example, the connection_security section in
server.yaml enables internal network connections:
connection_security:
  allow_internal_networks: true
In the following example, the systemctl command restarts the server
to apply the change:
sudo systemctl restart pgedge-ai-dba-server
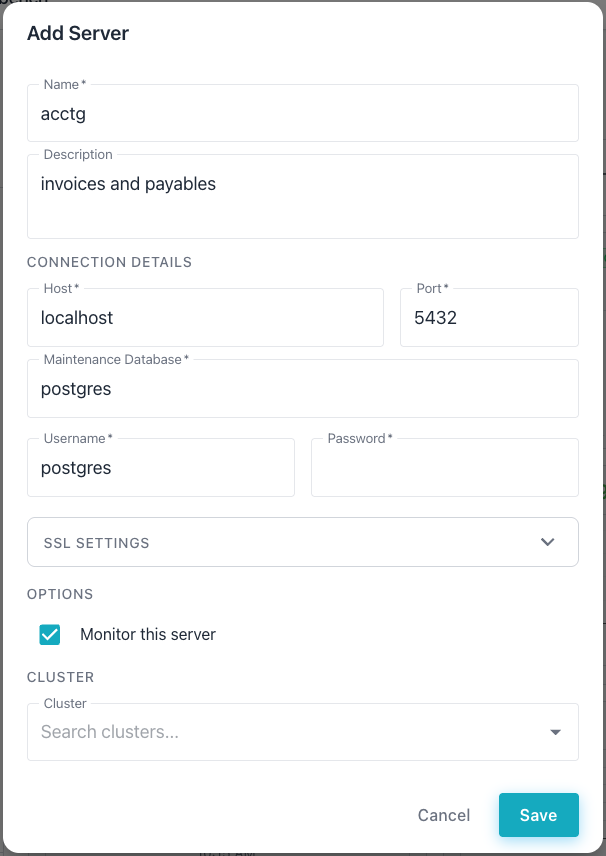
When adding a server definition, provide the connection details and
specify localhost in the host name field before selecting Save.

Customizing your Configuration
Consult the following guides for additional configuration information:
- The systemd configuration guide provides details about setting up systemd service management for users that did not use pgEdge packages when installing.
- The collector guide covers tuned connection pools and SSL.
- The server guide covers TLS, authentication, and LLM integration.
- The alerter guide covers anomaly detection and notification channels.
- The web client guide covers proxy settings and build options.