Quick Start - Installing the Workbench with Binary Files
The AI DBA Workbench collects metrics from PostgreSQL servers, evaluates alert rules, and displays results in a web interface. This guide covers setting up the complete pgEdge AI DBA Workbench using pre-built binaries available from the pgEdge GitHub repository.
Before you deploy the Workbench, confirm the following prerequisites are in place:
- PostgreSQL 14 or later is installed for the Workbench datastore.
- The database credentials for the datastore database are available.
- Network access exists between each monitored PostgreSQL server and the system hosting the Workbench.
- A Linux x86_64 system is available to host the server-side components.
Installing the Binaries
Download the latest release from the
GitHub releases page.
The release archive includes the collector, server, and alerter binaries
and pre-built web client files. After downloading the files, extract the
archives and copy the files into a deployment directory. In the following
example, the tar and cp commands install the binary and client files
to the /opt/ai-workbench directory:
tar xzf ai-dba-collector-linux-arm64.tar.gz
tar xzf ai-dba-server-linux-arm64.tar.gz
tar xzf ai-dba-alerter-linux-arm64.tar.gz
sudo mkdir -p /opt/ai-workbench
sudo cp ai-dba-collector /opt/ai-workbench/
sudo cp ai-dba-server /opt/ai-workbench/
sudo cp ai-dba-alerter /opt/ai-workbench/
sudo chmod +x /opt/ai-workbench/ai-dba-*
sudo mkdir -p /opt/ai-workbench/client
sudo tar xzf ai-dba-client.tar.gz -C /opt/ai-workbench/client
Note
See the installation paths table for a comparison of installation paths used in different deployment methods.
Creating the Datastore Database
Use a PostgreSQL client to create a database for the datastore; the
collector, server, and alerter share this database. Connect to the PostgreSQL
server with psql:
psql -U postgres -h localhost
Then, create the datastore database. In the following example, the
CREATE DATABASE and GRANT statements create the ai_workbench database
and ai_workbench user:
CREATE DATABASE ai_workbench;
CREATE USER ai_workbench WITH PASSWORD 'your-password';
GRANT ALL PRIVILEGES ON DATABASE ai_workbench TO ai_workbench;
The collector creates the required schema tables automatically on first startup.
Creating a Server Secret and a Password File
The Workbench components use the server secret file and password file
when connecting and authenticating with other components and the
datastore database. Both files are saved in the /etc/ai-workbench
directory; the complete paths are:
/etc/ai-workbench/server.secret/etc/ai-workbench/password.txt
In the following example, the mkdir command creates the
/etc/pgedge directory:
sudo mkdir -p /etc/pgedge
In the following example, the openssl command writes a secret to
the server.secret file in the /etc/pgedge directory:
sudo openssl rand -base64 32 \
    | sudo tee /etc/pgedge/server.secret \
    > /dev/null
sudo chmod 600 /etc/ai-workbench/server.secret
Then, use the echo and chmod commands to create the password.txt file
in the /etc/ai-workbench directory and set the file permissions:
sudo mkdir -p /etc/ai-workbench
sudo sh -c 'echo "your-password" > /etc/ai-workbench/password.txt'
sudo chmod 600 /etc/ai-workbench/password.txt
Hint
When configuring your installation, you'll need to ensure that the
locations of the server.secret and password.txt files are set to the
absolute file paths in the YAML configuration files.
Configuring and Starting the Collector
Copy the example configuration file to the system configuration directory
before editing the settings. In the following example, the cp command
copies the example collector configuration file to /etc/pgedge:
sudo cp ~/Downloads/examples/ai-dba-collector.yaml /etc/pgedge/ai-dba-collector.yaml
Update the configuration file to describe the deployment. The following example shows the minimum settings required for a local development environment:
datastore:
  host: localhost
  database: ai_workbench
  username: postgres
  password_file: /etc/ai-workbench/password.txt
  port: 5432
  sslmode: disable
The SECURITY SETTINGS section stores the location of the secret file:
secret_file: /etc/pgedge/ai-dba-server.secret
In the following example, the ai-dba-collector command starts the
collector with the configuration file:
/opt/ai-workbench/ai-dba-collector -config /etc/pgedge/ai-dba-collector.yaml &
The collector displays startup messages to confirm successful initialization; for example:
/opt/ai-workbench/ai-dba-collector -config /etc/pgedge/ai-dba-collector.yaml
2026/05/19 13:22:00 pgEdge AI DBA Workbench Collector v1.0.0-beta1 starting...
2026/05/19 13:22:00 Configuration loaded from: /etc/pgedge/ai-dba-collector.yaml
2026/05/19 13:22:00 Datastore connection established
2026/05/19 13:22:00 Probe scheduler started
2026/05/19 13:22:00 Collector is running. Press Ctrl+C to stop.
The collector is running as a background service; press Enter to view your prompt.
Configuring and Starting the Server
Copy the server configuration file to the system configuration directory
before editing the settings. In the following example, the cp command
copies the sample configuration file to the /etc/pgedge directory:
sudo cp ~/Downloads/examples/ai-dba-server.yaml /etc/pgedge/ai-dba-server.yaml
The sample configuration file specifies the minimum settings for a local development environment:
http:
  # Address to listen on (host:port or :port for all interfaces)
  # Default: :8080
  address: ":8080"

  #-----------------------------------------------------------------------
  # TLS/HTTPS Configuration
  #-----------------------------------------------------------------------
  tls:
    # Enable TLS/HTTPS
    # Default: false
    enabled: false
The Authentication Configuration section establishes connection
behaviors and limits:
auth:
    # Enable authentication (strongly recommended for production)
    # Default: true
    enabled: true

    # Account lockout after N failed login attempts (0 = disabled)
    # Default: 10
    max_failed_attempts_before_lockout: 10

    # Maximum days for user-created tokens (0 = unlimited)
    # This limits how long users can set their personal tokens to live
    # Default: 0 (unlimited)
    max_user_token_days: 0

    # Rate limiting time window in minutes
    # Default: 15
    rate_limit_window_minutes: 15

    # Maximum failed attempts per IP in the time window
    # Default: 10
    rate_limit_max_attempts: 10
By default, the server blocks connections to internal and private IP
addresses. To monitor a PostgreSQL instance on the same host or local
network, set the allow_internal_networks property to true in the
server configuration file:
connection_security:
  # Allow connections to RFC 1918 private addresses (10.x.x.x,
  # 172.16.x.x, 192.168.x.x), localhost, link-local, and other
  # internal network ranges.
  # Default: false
  allow_internal_networks: true
The database properties provide connection details for the server;
update the properties with the connection details and the password for
the postgres user:
database:
  # Database host
  # Default: localhost
  host: "localhost"

  # Database port
  # Default: 5432
  port: 5432

  # Database name
  # Default: postgres
  database: "ai_workbench"

  # Database user
  # Required - there is no default
  user: "postgres"

  # Database password file
  # If not set, will use .pgpass file automatically
  password_file: "/etc/ai-workbench/password.txt"

  # SSL mode: disable, require, verify-ca, verify-full
  # Default: prefer
  sslmode: "disable"

  #-----------------------------------------------------------------------
  # Connection Pool Settings
  #-----------------------------------------------------------------------

  # Maximum number of connections in the pool
  # Default: 4
  pool_max_conns: 4

  # Minimum number of connections in the pool
  # Default: 0
  pool_min_conns: 0

  # Maximum time a connection can be idle before being closed
  # Default: 30m
  pool_max_conn_idle_time: "30m"
Near the end of the file, the secret_file property stores the full
path to the server.secret file:
secret_file: "/etc/ai-workbench/server.secret"
In the following example, the mkdir and ai-dba-server commands
create the data directory and add a user account:
sudo mkdir -p /opt/ai-workbench/data
sudo chown -R $USER:$USER /opt/ai-workbench/data
/opt/ai-workbench/ai-dba-server -add-user -username admin
The command prompts for a password and optional user details; the
password must include at least one capital letter, one digit, and one
special character. In the following example, the ai-dba-server
command starts the server:
/opt/ai-workbench/ai-dba-server -config /etc/pgedge/ai-dba-server.yaml &
The server displays status messages during startup; for example:
Auth store: /opt/ai-workbench/data/auth.db (1 user(s), 0 token(s))
RBAC: 21 MCP privileges registered
Rate limiting enabled: 10 attempts per 15 minutes per IP
Account lockout enabled: 10 failed attempts before lockout
Server secret: loaded from /etc/ai-workbench/server.secret
Datastore: connected to postgres@localhost:5432/ai_workbench
Database configured: postgres@localhost:5432/ai_workbench (per-session connections)
Conversation store: PostgreSQL datastore
LLM HTTP client: timeout=2m0s
AI Overview: DISABLED (requires datastore and LLM configuration)
Starting MCP server in HTTP mode on :8080
LLM Proxy: ENABLED (provider: anthropic, model: claude-sonnet-4-5)
Knowledgebase: DISABLED
MCP tool REST bridge: ENABLED
Conversation history: ENABLED
Connection management: ENABLED
Cluster management: ENABLED
Alert management: ENABLED
Blackout management: ENABLED
Probe configuration: ENABLED
Alert rule configuration: ENABLED
Alert override configuration: ENABLED
Probe override configuration: ENABLED
Notification channel management: ENABLED
Channel override configuration: ENABLED
Server info: ENABLED
Timeline events: ENABLED
Performance summary: ENABLED
Metrics query: ENABLED
Latest snapshot: ENABLED
Memory management: ENABLED
RBAC management: ENABLED
The server is running as a background process; press Enter to view your prompt.
Configuring and Starting the Alerter
The alerter connects to the same datastore database as the collector and
server. Configure the alerter using a YAML configuration file or
command-line flags; see the
alerter configuration reference to review the
available options. In the following example, the cp command copies the
sample alerter configuration file from the Downloads folder to /etc/pgedge:
sudo cp ~/Downloads/examples/ai-dba-alerter.yaml /etc/pgedge/ai-dba-alerter.yaml
Update the configuration file to describe the deployment; the following example shows the minimum datastore settings:
datastore:
  # Hostname or IP address of the AI DBA Workbench datastore PostgreSQL server
  # Default: localhost
  # Command-line: -pg-host
  host: localhost

  # IP address of the datastore server (optional)
  # If set, bypasses DNS resolution and connects directly to this address
  # The host value is still used for SSL certificate verification
  # Default: none
  # Command-line: -pg-hostaddr
  # hostaddr: 127.0.0.1

  # Database name in the AI DBA Workbench datastore
  # Default: ai_workbench
  # Command-line: -pg-database
  database: ai-workbench

  # Username for connecting to the AI DBA Workbench datastore
  # Default: postgres
  # Command-line: -pg-username
  username: postgres

  # Path to file containing the password for the AI DBA Workbench datastore
  # The file should contain only the password with no extra whitespace
  # Default: none (will attempt to use .pgpass if not specified)
  # Command-line: -pg-password-file
  #
  # Example: Create a password file with restricted permissions:
  #   echo "your-password" > /etc/ai-workbench/password.txt
  #   chmod 600 /etc/ai-workbench/password.txt
  password_file: /etc/ai-workbench/password.txt

  # Port on which the AI DBA Workbench datastore is listening
  # Default: 5432
  # Range: 1-65535
  # Command-line: -pg-port
  port: 5432
  ```

The `SECURITY SETTINGS` section stores the location of the secret file:

```yaml
secret_file: /etc/ai-workbench/secret.secret
In the following example, the ai-dba-alerter command starts the
alerter with the configuration file:
/opt/ai-workbench/ai-dba-alerter -config /etc/pgedge/ai-dba-alerter.yaml &
The alerter displays status messages during startup; for example:
pgEdge AI DBA Workbench Alerter v1.0.0-beta1 starting...
Configuration loaded from /etc/pgedge/ai-dba-alerter.yaml
Datastore: connected to postgres@localhost:5432/ai_workbench
[alerter] Initialized embedding provider: nomic-embed-text
[alerter] Initialized reasoning provider: qwen2.5:7b-instruct
Starting alerter engine...
[alerter] Engine starting...
[alerter] All workers started
[alerter] Retention manager started
[alerter] Blackout scheduler started
[alerter] Re-evaluation worker started (interval: 5m0s)
[alerter] Anomaly detector started (interval: 1m0s)
[alerter] Alert cleaner started
[alerter] Threshold evaluator started (interval: 1m0s)
[alerter] Baseline calculator started (interval: 1h0m0s)
[alerter] Connection error evaluator started (interval: 30s)
[alerter] Calculating baselines for 0 connections, 28 rules (lookback: 7 days)
[alerter] Baseline calculation complete
The server is running as a background process; press Enter to view your prompt.
Running the Workbench
The server does not include a static file service; install and configure nginx to serve the client files and proxy API requests to the server before running the Workbench.
First, use your package manager to install nginx:
sudo apt install nginx
Then, in the following example, we use vi to creates the nginx
configuration file:
sudo vi /etc/nginx/sites-available/ai-dba-workbench
Add the following code to the nginx configuration file to set the proxy rules and file root for the installation:
server {
    listen 80;

    root /opt/ai-workbench/client;
    index index.html;

    location / {
        try_files $uri $uri/ /index.html;
    }

    location /api/ {
        proxy_pass http://localhost:8080/;
        proxy_set_header Host $host;
        proxy_set_header X-Real-IP $remote_addr;
    }
}
Next, we'll use the ln, nginx, and systemctl commands to
enable the configuration and restart nginx:
sudo ln -s /etc/nginx/sites-available/ai-dba-workbench /etc/nginx/sites-enabled/ai-dba-workbench
sudo rm /etc/nginx/sites-enabled/default
sudo nginx -t
sudo systemctl restart nginx
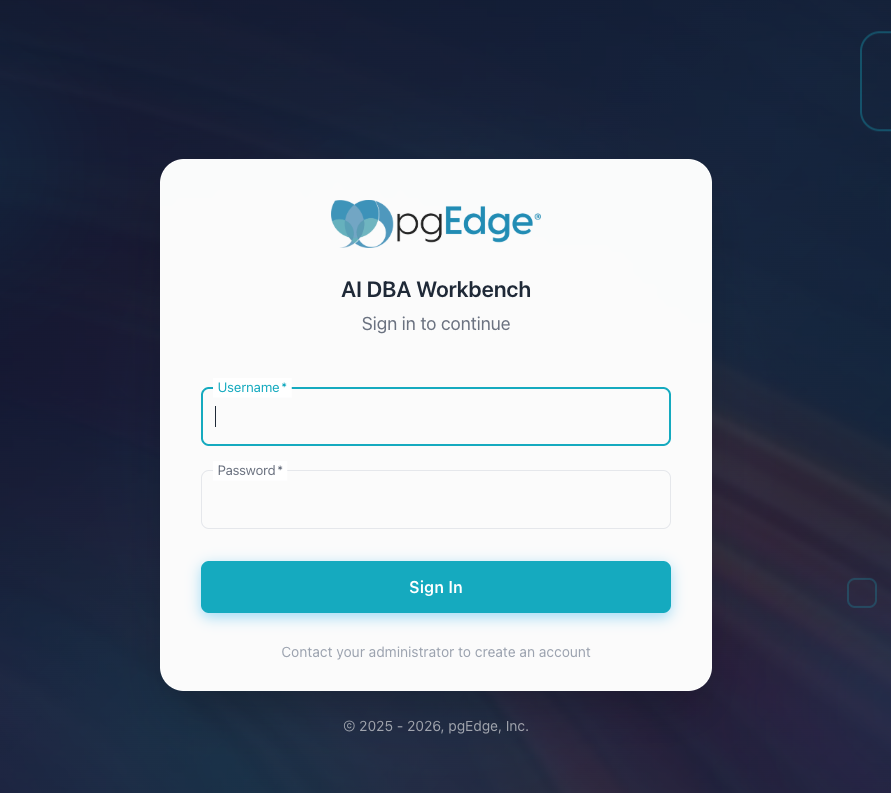
Open a browser and navigate to http://<server-ip>; provide
authentication details when the Workbench opens.
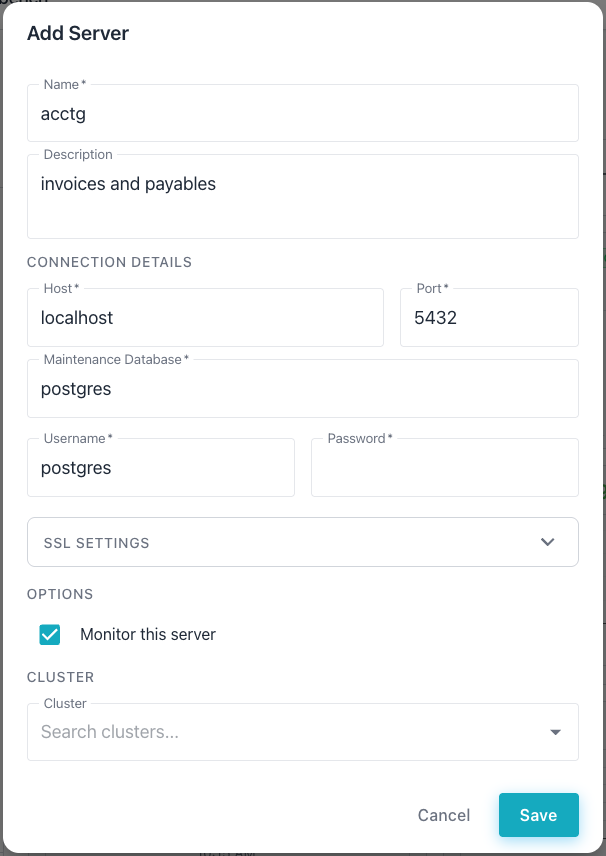
After logging in, select the + next to the DATABASE SERVERS heading
in the left navigation panel. The Workbench adds a new server definition
entry.
Customizing your Configuration
Consult the following guides for additional configuration information:
- The systemd configuration guide provides details about setting up systemd service management for users that did not use pgEdge packages when installing.
- The collector guide covers tuned connection pools and SSL.
- The server guide covers TLS, authentication, and LLM integration.
- The alerter guide covers anomaly detection and notification channels.
- The web client guide covers proxy settings and build options.